Here’s a quick run through of one of the processes that I use to create the images for “The Book of Everything”. I’m using The Gimp, but photoshop users ought to be able to translate quite easily. This was done for a single panel, in an image file of it’s own.
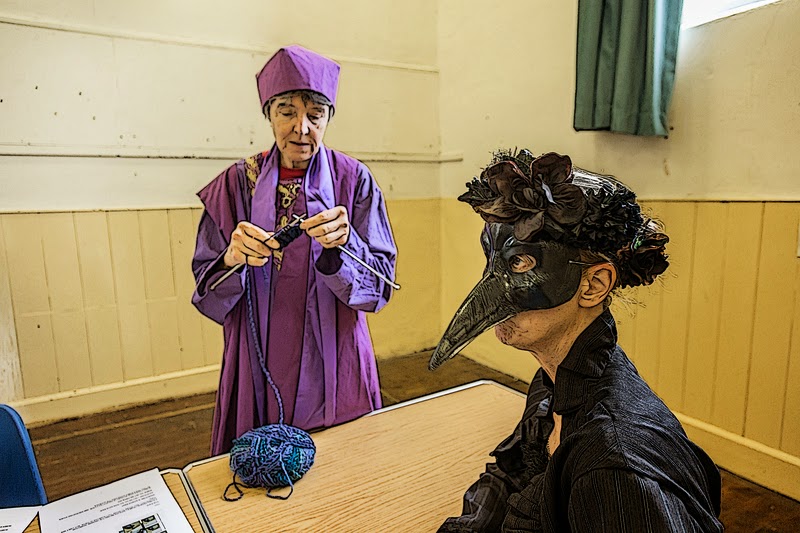
Here’s the starting point, an “out-take” photo of Liz (left, knitting) and Karen (right, with mask on) – on the days that we were doing the photo-shoots, all the photographers were taking snaps pretty much flat out, as anything could end up as a panel.
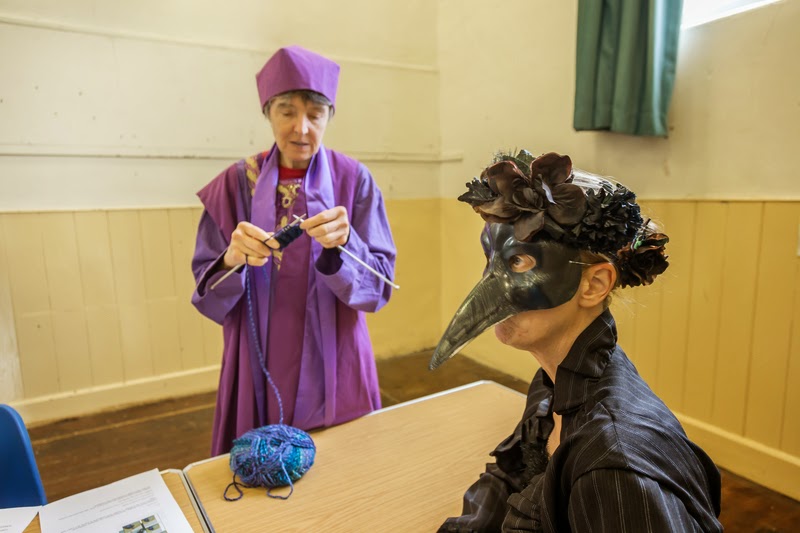
Liz’ character’s already been introduced at this point (the knitting wasn’t intended as a prop – her grandson was due a few weeks after the shoot, and she had something to finish off – but it’s been incorporated into the story as a “pocket universe” that her character is creating). This is the first sighting of Karen’s character, who won’t reappear for some time.
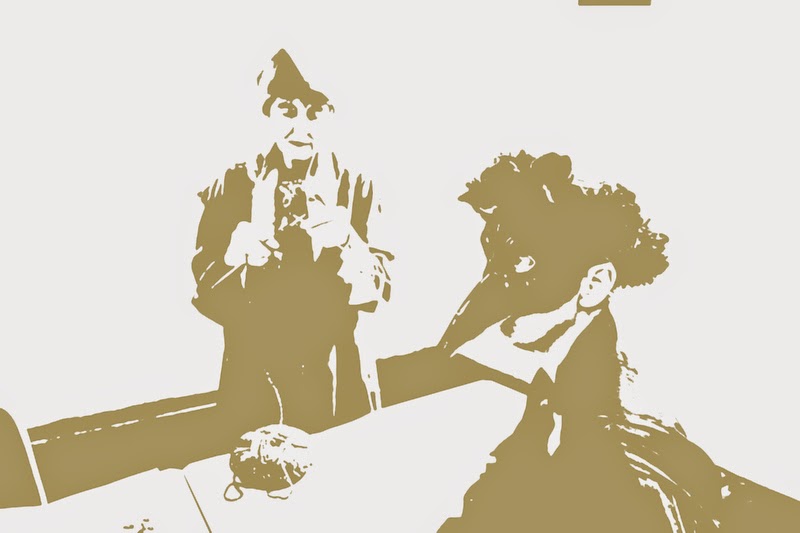
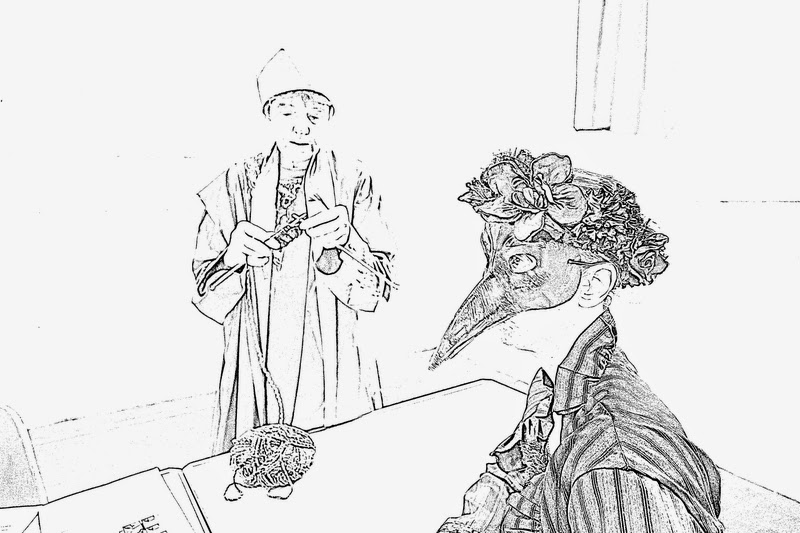
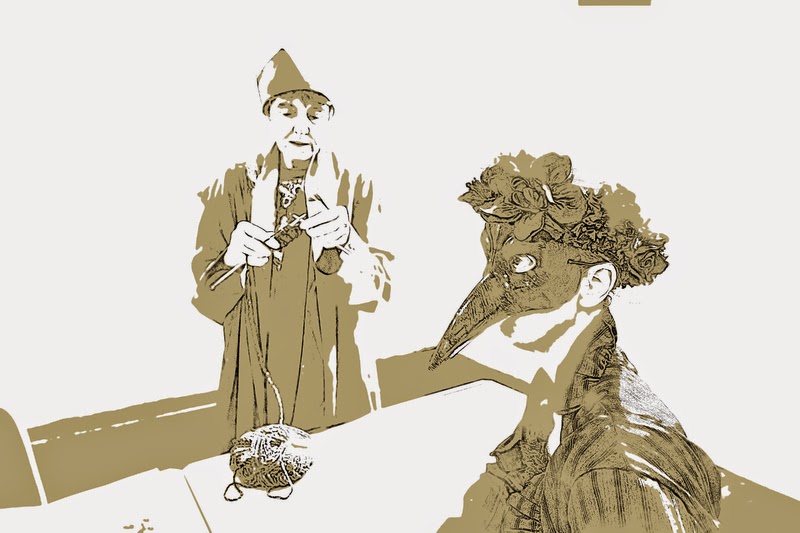
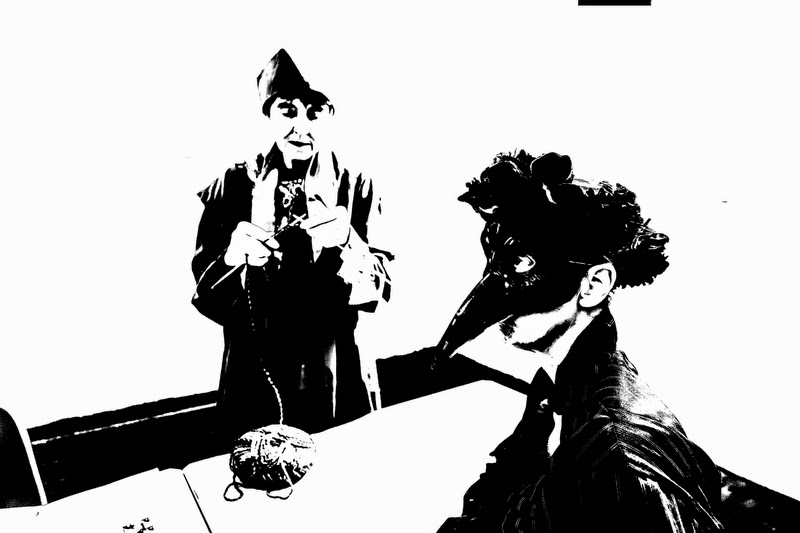
I want to create a rough mono-coloured background colour, and add linework over the top. First, to get the flat colour, I apply a threshold on a copy of the base layer:
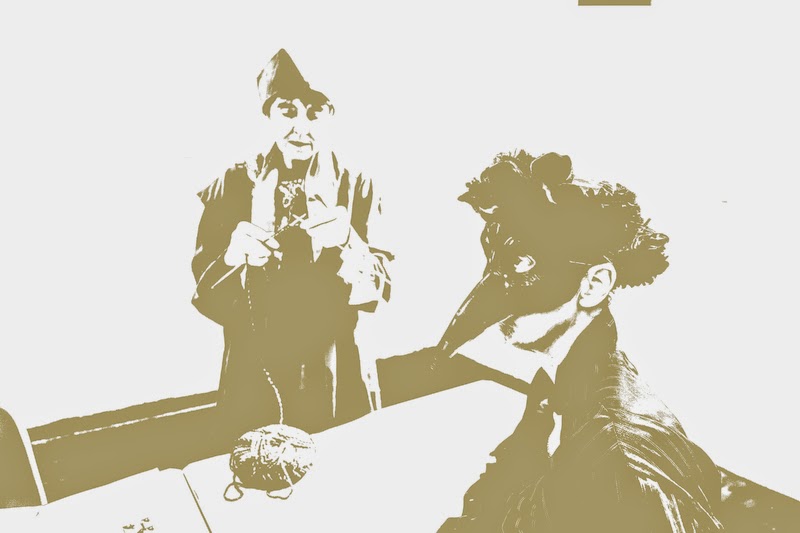
I’m not cropping the image at this point, but I take the opportunity to delete that blasted curtain! Next up, I’ll substitute the black for something gentler:
I’ll then use the “oilify” filter with a large mask size (32, IIRC?) to soften the edges. (No idea if PS has an “oilify” equiv, or what it’s called…